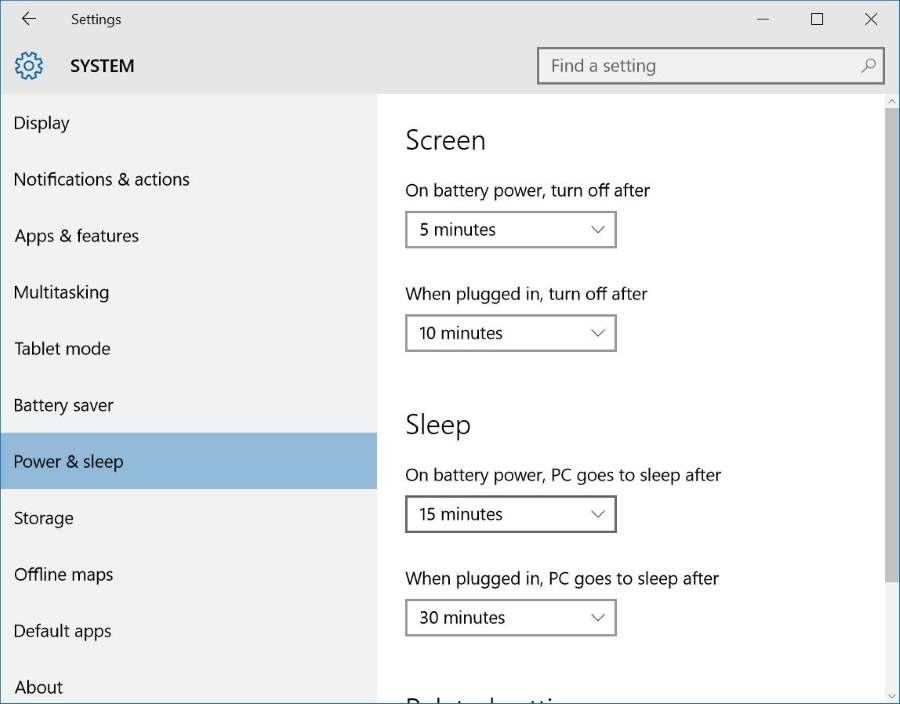
Windows 10 Keeps Going to Sleep every few minutes? Should we say sleep syndrome for Windows 10? Off lately many users have been experiencing the issue; Windows 10 keeps going to sleep mode frequently. Sleep mode is designed to save power consumption, which puts your monitor and the hard disk to rest while idle. It is a good utility specially for people who use laptops as their workstations. But this could be annoying if your Windows 10 computer goes to sleep every few minutes.
Possible reasons may be due to a Windows 10 update. Or if you have recently upgraded your Windows 10 to a newer release. Updates can cause conflicts or restore the system settings to default or factory settings. If this is the case, it can be easily changed by increasing the idle time until your Windows 10 goes to sleep.

Chances are, even if your settings shows longer idle time, yet your windows 10 goes to sleep mode. It’s a widely reported problem and many laptop users have been annoyed by this sleep time issue. But don’t get confused with the Sleep and Screen settings. Your screen may go off after a few minutes but your system may be fully active. At times, just by toggling the screen saver may even solve the issue.
But when a computer enters sleep mode, it temporarily shuts operations on the hard disk and display. Leaving unattended for a few minutes makes the PC freeze. Forcing for a hard reset could be the way to bring back the system, thereby resulting in data loss. All your unsaved data is gone forever. Read below to apply the possible fixes for the issue.
How to Stop Windows 10 from Going into Sleep
Here are a few tips which could help you resolve the issue if your Windows 10 keeps going to sleep frequently.
1. Restore Default Settings
The easiest of all is to change it to default settings. Below are the steps:-
Step 1: Right-click on the desktop, choose Power and Sleep.
Step 2: Select Additional Power Settings, and then choose when to turn off the display.
Step 3: Now click Change Advanced power settings and Select Restore Plan Defaults.
Now wait for some time and see if Windows 10 still keeps going into sleep mode or it is fixed. If you still see the problem, then you may want to try the next solution.
2. Edit the Registry
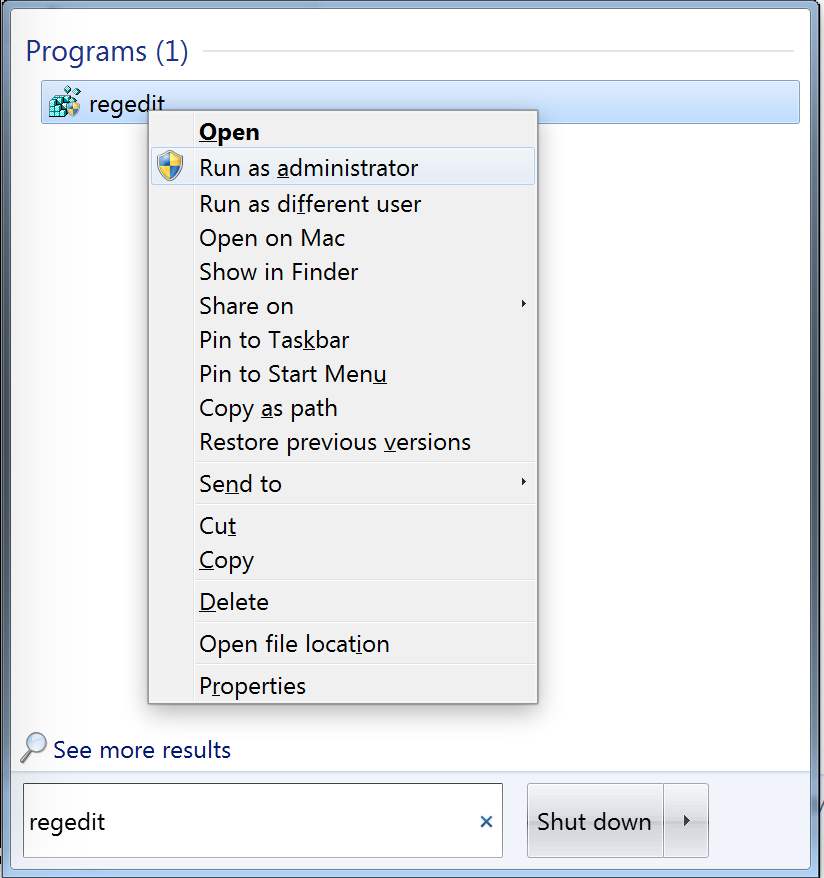
Step 1: Click on the Windows Icon and type ‘regedit’. Right-click on ‘regedit’ and choose Run as Administrator.

Step 2: Reach out the below path.
HKEY_LOCAL_MACHINE\SYSTEM\CurrentControlSet\Control\Power\PowerSettings\238C9FA8-0AAD-41ED-83F4-97BE242C8F20\7bc4a2f9-d8fc-4469-b07b-33eb785aaca0

Step 3: Double-click Attributes and make sure the attribute is set to 2. If not, type 2 and click OK.

Once you have modified the registry, you need to change the system’s unattended timeout option to make it work. For that, please follow the steps as mentioned below.
Step 1: Open the Start Menu and search for Power Options.
Step 2: Under Power Options, Click on Change plan settings. Again click on Change Advanced Power Settings.
Step 3: Click on Change Settings that are currently unavailable.
Step 4: Click on Sleep
Step 5: Select System Unattended sleep timeout. The value may be set at 2 by default. Change it to your desired timeout interval like 30 minutes or more.
Step 6: Apply the changes and click save.
Now restart your PC, and it should stop Windows 10 from going into sleep frequently.
Conclusion
Unfortunately, if nothing works, a clean install might be the only thing that can help you solve the issue. It may be a simple bug but could drain all the time you have, browsing for solutions without any luck. It is always better to do a clean install rather than applying updates or patches which may or may not fix the problem.
More Fixes on Windows
- The application was unable to start correctly (0xc00007b)
- Windows Was Unable to Complete the Format
- This Copy of Windows is not genuine
