Kodi is an open-source media player supporting almost any audio and video format. With Kodi, you can watch movies, listen to the music, stream videos, and do pretty much everything you could do with an expensive Blu-Ray player, or even more expensive Smart TV. Since Kodi is an open-source piece of software, the community made lots of plugins, skins, and other interesting customizations for the Kodi.

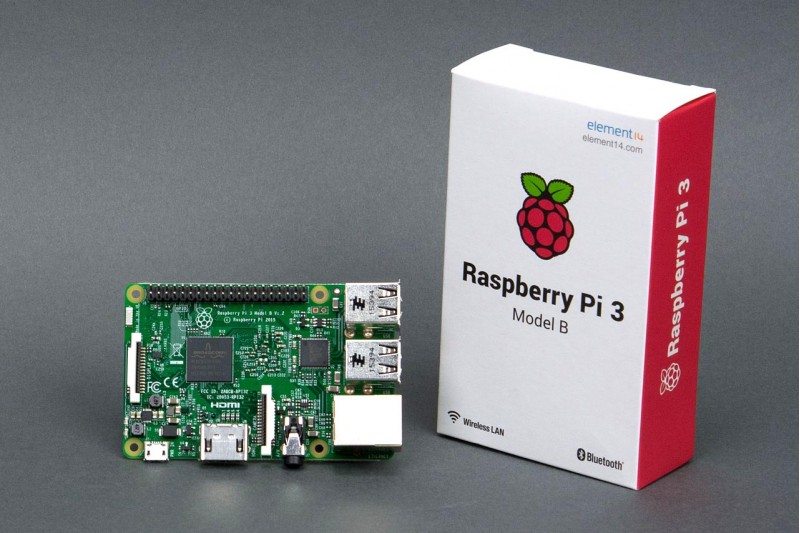
One of the nice features of Kodi is that you can install it on almost every computer, even the affordable Raspberry Pi, making you a cheap and powerful HTPC (Home Theater PC). If you want to install Kodi on the Raspberry Pi 3, here’s how to do it.
First of all, you’ll need the following:
- Raspberry Pi 3
- Raspberry Pi case
- Ethernet cable
- HDMI cable
- Micro SD memory card (at least 8 GB)
- Power adapter
- Power supply
If you don’t want to chase all of the pieces one at a time, you can buy the whole kit at Amazon.

Now when you got all of the pieces of the puzzle, it is time to build your own HTPC. Firstly, the Raspberry Pi has to be placed inside the case. Just place it inside, put on the cover, and tighten the screws.
Next, get the OS for the Raspberry Pi. OSMC is a perfect HTPC operating system that runs Kodi, supporting all four (Pi 1, 2, 3 & Zero) Raspberry Pi models. Download it from here, after you select the desired installer (Windows, OS X, Linux).
Next, plug-in the SD card to your computer and start the OSMC installer package. You’ll have to select the language, as well as the Raspberry Pi 3 as the desired device. After that just select the latest OSMC version and click “Next.” When prompted on where you would like the OSMC OS to be installed, select “On an SD card.”
After that, you have to choose the type of the connection (wired connection or wireless connection) and the patch where the OSMC will be installed. When the installation finishes, take the SD card and connect it to your Raspberry Pi, and then plug-in the keyboard, HTML, and Ethernet (if you selected a wired connection) cables. Finally, plug in the power, boot the system, choose the settings that will be used, and you’re ready to go! Now you have a cheap, but powerful HTPC that can be used with almost any TV.
