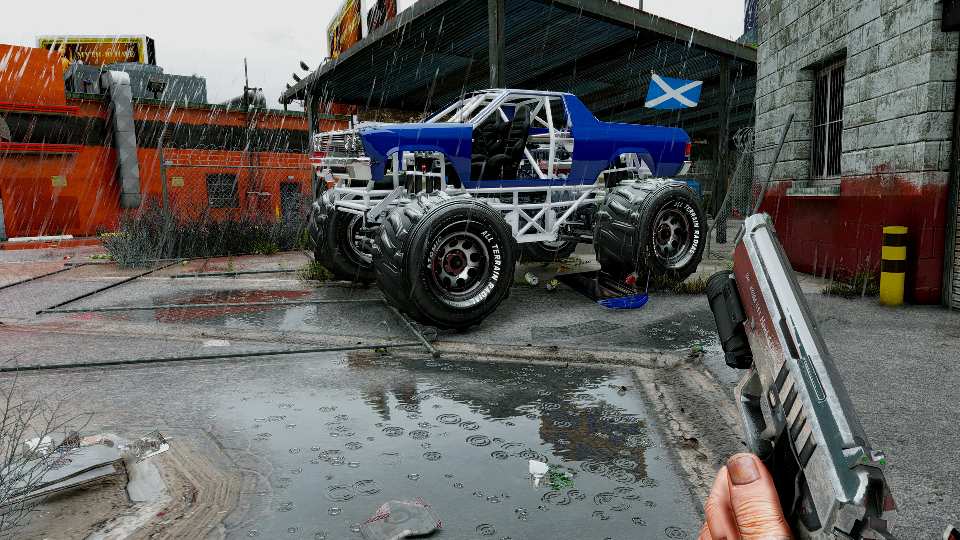
GTA 5 Redux Mod released a day ago. You can now enjoy the incredible upscaled graphics. Get a 4K monitor and the graphic card to handle it. Then crank up the resolution to 4K and enjoy the mod in its full glory. Here we will tell you how to download and install the mod for your game. Make sure you have OpenIV installed. OpenIV is a multi-purpose editor and archive manager for PC versions of Rockstar games.
The mod introduces a vast array of improvements. These include new weather system, simulated global illumination, more realistic fog, and more. It also introduces more life-like textures for billboards, ground debris, and destructible surfaces. Particle count has been upped for all relevant effects, too. Furthermore, police behavior has been tweaked, and more law enforcement vehicles will be dispatched if you’re really bad. Consequently, here is the GTA 5 Redux Mod Installation Tutorial. However, this is going to be a fresh install of the mod from scratch.

GTA 5 Redux Mod download and installation tutorial
- Download and install OpenIV
- Point OpenIV to your GTA 5 install directory and install the required plug-ins
- If you are not prompted to install the plug-ins, click on tools. Then “Asi Manager” and install all the plug-ins listed
- Download ScriptHookV. Copy and paste the files ScriptHookV.dll, and dinput8.dll from the “bin” folder, into your GTA 5 main directory
- Make sure you have 100% clean and un-modded files in your GTA 5 directory. No previous ReShade, ENB, SweetFX, or other mod files can be previously installed. Delete the files. ReShade(folder), ReShade.fx, dxgi.dll, ReShade64.dll, d3d11.dll, enblocal.ini, enbseries.ini, enblightspright.fx, and, enbseries(folder)
- Create a folder titled mods inside your GTA 5 main directory. Copy and paste the files: update, x64, common.rpf, and x64a.rpf-x64w.rpf, from your main directory, into the newly created mods folder
- Copy all original “.rpf” files into the mods folder
- Use the Package Installer tool from within OpenIV. Click on tools, then “Package Installer”. Locate the REDUX_INSTALLER.oiv file from the extracted Redux download
- Click “Install”, then choose the option to install the mod inside the GAME FOLDER
- Choosing to install inside the mods folder will result in a duplicated file system and a broken installation
- Game files have now been installed
- If you receive a message stating that the installer has failed, attempt to run the installer again. If it fails a second time, please ensure you have properly set up the mods folder. Do not close the installer during installation, please wait for it to finish, unless the program stops responding
Reshade and ENB Installation
- Open up the extracted Redux download, and navigate to the “RESHADE OPTIONS” folder
- Choose your desired option from the list of presets, open the folder and copy its entire contents
- Paste the contents of your choice, into the main GTA 5 directory, overwriting everything when asked
- It’s complete
- To change presets, delete the entire ReShade folder from your directory. Copy and paste the contents of your new choice into the directory
- Additionally, it is okay, to be seeing YELLOW warning messages from ReShade when starting up. However RED indicates a mistake has been made, and the effects are not successfully compiled. Repeat the step that indicates how to change ReShade options if this occurs.
Let us know what you think GTA 5 Redux Mod so far. Rockstar also announced the bonus for GTA online.
