The early web browsers being Nexus and Netscape were all too naive – in the sense that they did not even have the basic ability to show images properly (images did appear in their later versions). Today, web browsers have evolved to a whole new level. Firefox and Google’s Chrome web browsers being the most eminently used ones have a vast number of users.
On the Windows platform, it is as easy as a piece of cake to install Chrome. You just have to go to Chrome’s website, and download the desired (32-bit/64-bit binary) installer. But that’s not the case in Linux. We are going to walk through the steps of how to successfully install Google Chrome on our test machine (Fedora – 23).
First of all, launch a terminal of your liking (Gnome Terminal in our case) and fire up the following commands:
- We need to change to the root user first, so:
$ sudo su (give the root password, and you’re good to go) - Enable the Google’s YUM repository:
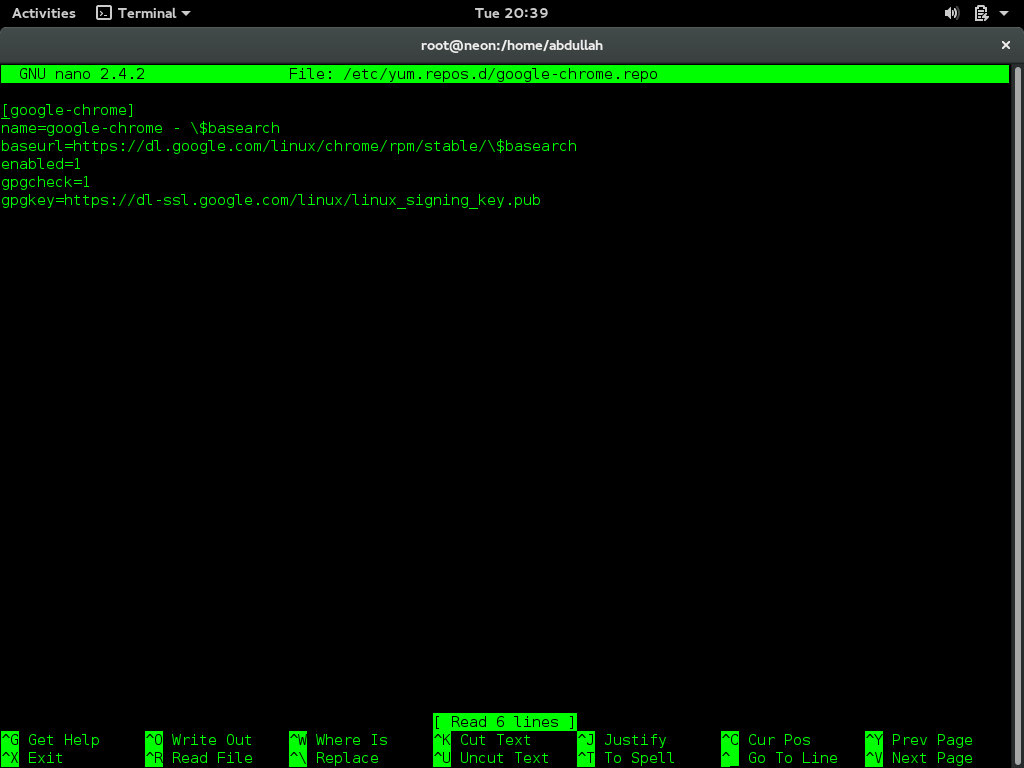
$ nano /etc/yum.repos.d/google-chrome.repo
This creates a file by the name “google-chrome.repo” and places it in /etc/yu.repos.d - Next, just copy and paste the following into the screen that comes up ahead:
[google-chrome]
name=google-chrome - \$basearch

baseurl=https://dl.google.com/linux/chrome/rpm/stable/\$basearch

enabled=1

gpgcheck=1

gpgkey=https://dl-ssl.google.com/linux/linux_signing_key.pub

- Followed by the following:
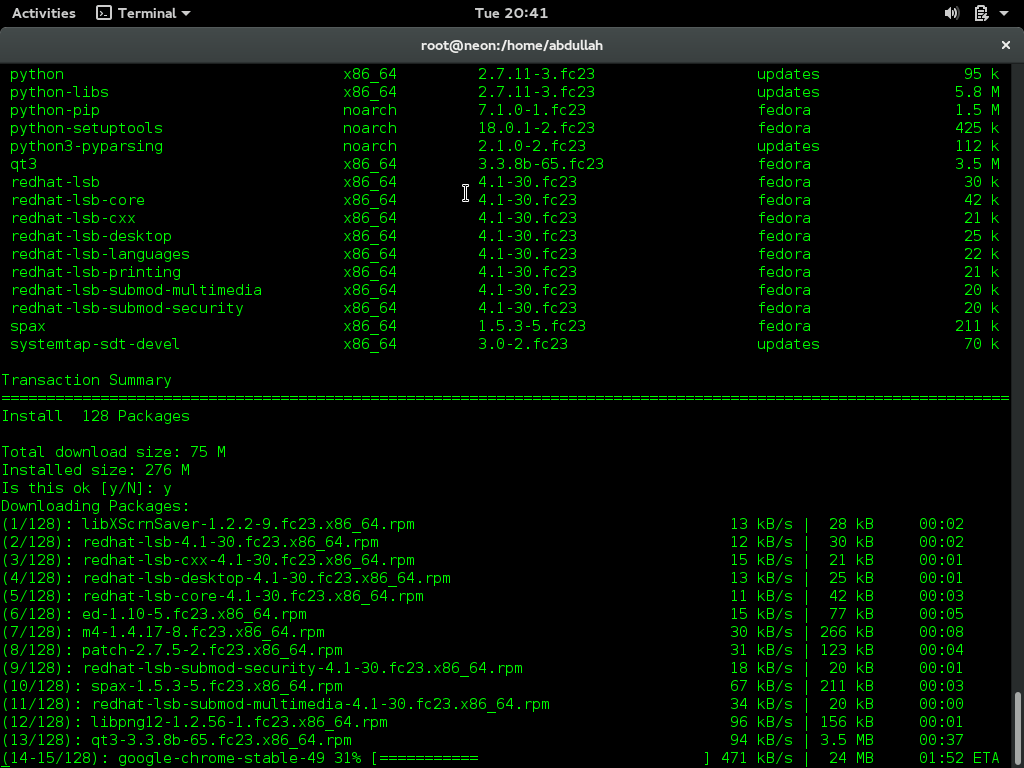
$ dnf check-update - Now, there are two Google Chrome versions available, that go by the name “google-chrome-stable” and “google-chrome-beta” to be exact. Install the one that suits you. For an average user, the latter is somewhat never required:
$ dnf install google-chrome-stable

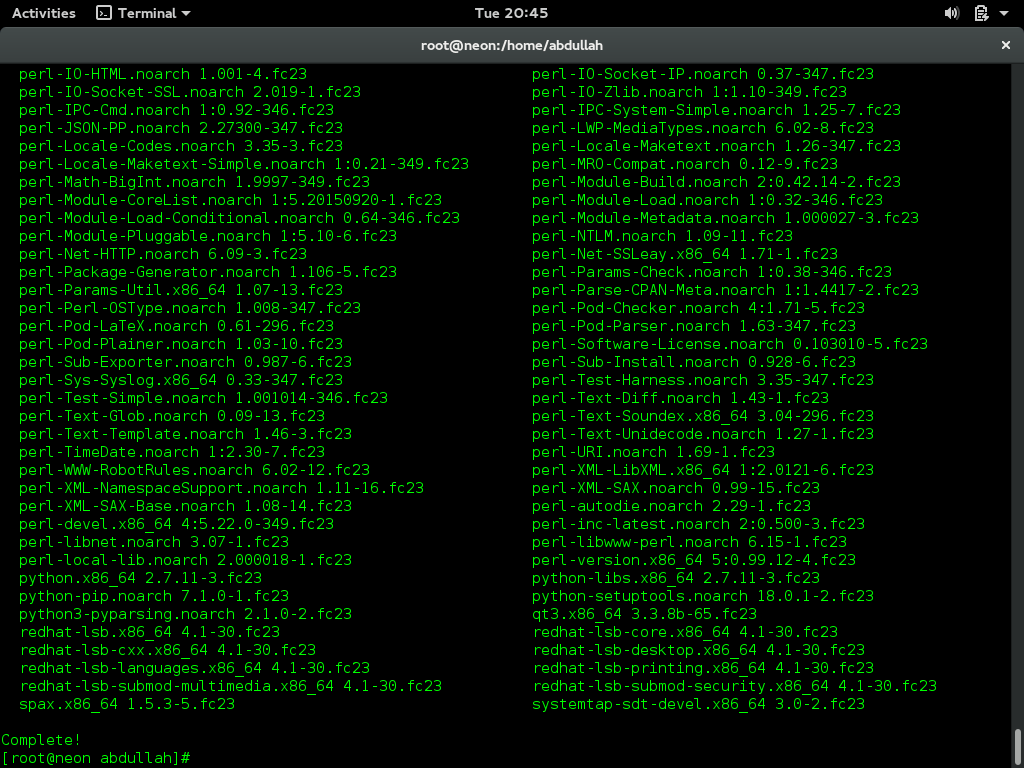
That’s it for now, you have successfully installed Google Chrome on your Fedora 23 Machine.
