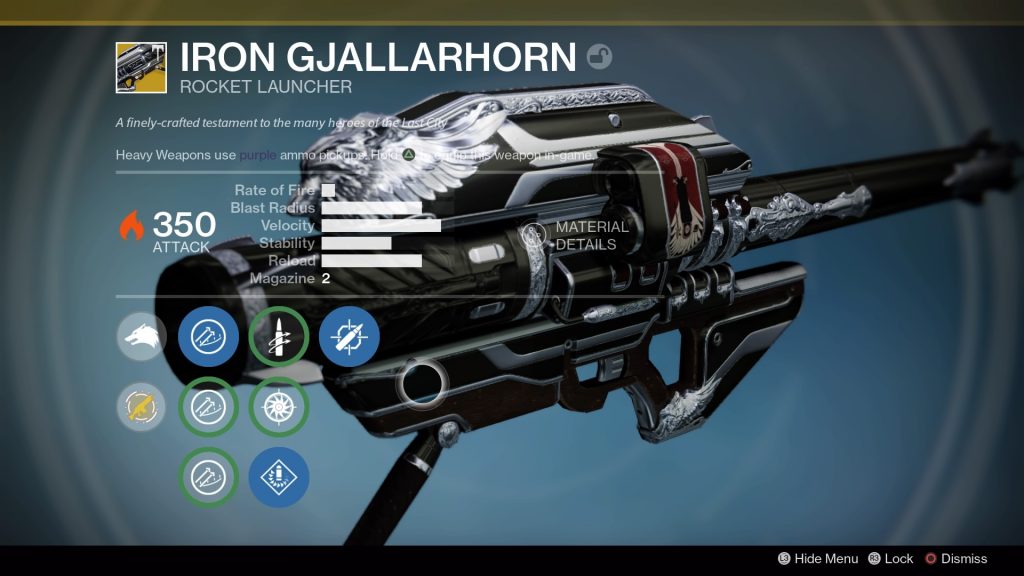
We will teach you how to get the Exotic Rocket Launcher in our Destiny Rise of Iron Gjallarhorn Guide. Also, if you pre-ordered, we will also be going over how to get the Iron Gjallahorn too.

Destiny Rise of Iron Gjallarhorn Guide
If you want to start the Gjallarhorn quest, you have to complete the five campaign missions. One you’ve done that, you will then get a quest called Echoes of the Past. Now, if you want to do this part of the quest you will need a Splicer Key. This is because, the quest requires you to go through a laser grid that can only be disabled by a Splicer Key.
If you don’t have a Splicer Key, head over to the Plaguelands. Keep an eye out for Brood Mothers. An easy one is located the right of where you spawn. Killing them will drop a Splicer Key.

Now head to Archon’s Keep in Plaguelands. In this area, you’re looking for an anomaly scan patrol machine. Once you have it, it will send you underground into the SIVA wall-mined inspired bunker. The game will lead you there because it’s a patrol. It’s simple really, just follow the objective marker.
On this path, you will need your Splicer Key. Use it on the Laser door. Then, you will find yourself at the bottom of this bunker. There will be a SIVA Fallen Walker tank there. After killing all the enemies, don’t go down the slide but go to its left. There will be an anomaly there.

Medallion quest
1. Speak to Lord Saladin and then to Tyra Karn. You need to find seven medallions. One is in Felwinter Peak, if you read our previous article about the Jumping Puzzle here, then it’s basically the same. Just turn around when you reach the wolves and go to your right and you will find one medallion.

2. Go to the Plaguelands patrol. Start at the very beginning. As soon as you spawn in, take a right. There will be a small checkpost kind of room. There will be a medallion inside there.

3. Then, go to the Giant Husk which is the area with the massive broken down ship. You need to get to the top of the wrecked ship with all the crates. The medallion is between two crates with another crate on top of both of them.

4. Now go to Arghom’s Keep. Don’t go inside the Forge. Look to the very left of it and you will spot the medallion.

5. Now go to the Forgotten Pass. On the bridge, there are a lot of crates. A few crates ahead to your right there should be the medallion.

6. Go to the Radio Tower in Bunker Triglaf. Don’t go inside. Turn right and there should be a dome bunker. Head inside. Right when you enter, to your immediate right there should be a doorway. As soon as you enter, there will be a medallion.

7. Go back to that SIVA wall-miner bunker thingy. Go all the way down to where you saw the laser grid. To the left of the laser grid are two red pipes. These pipes meet at a corner and that’s where the last Medallion is.

Gjallarhorn
Return to the Tower and speak to Tyra Karn. Now you will get the mission A Symbol of Honor. This one’s pretty simple. After you complete it, return to Tyra Karn. She will now ask for five SIVA clusters. They’re really easy to find. After you give them to Tyra Karn, it will complete that stage of the quest.
Return to Saladin. Get the quest Beauty in Delivery. This is the final part where you have to forge the Gjallarhorn. It’s very simple. Just play through it and at the very end you will forge your Iron Gjallarhorn
Destiny Rise of Iron Gjallarhorn Guide – Pre-order Gjallarhorn
You will notice you have a Gjallarhorn came in your post master at Light level 3. You can infuse both Gjallarhorn to get the Black and Silver version instead. Go back and speak to Lord Saladin to end the quest.
Let us know what you think of our Destiny Rise of Iron Gjallarhorn Guide.
